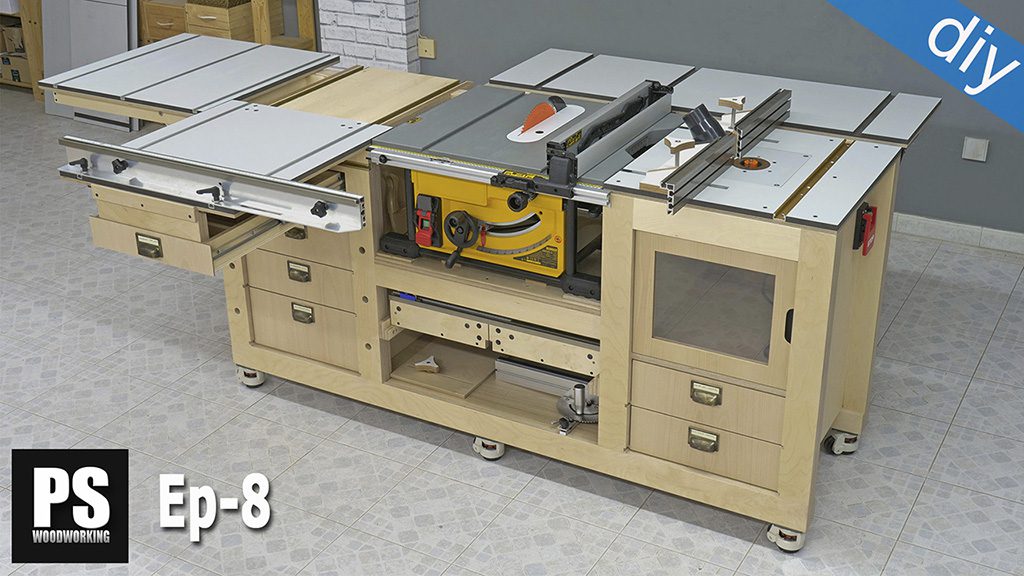
A versatile, easy-to-make router and saw table for small workshops. It includes all kinds of custom accessories that make work easier. It also has a space to keep all these accessories organized and handy.

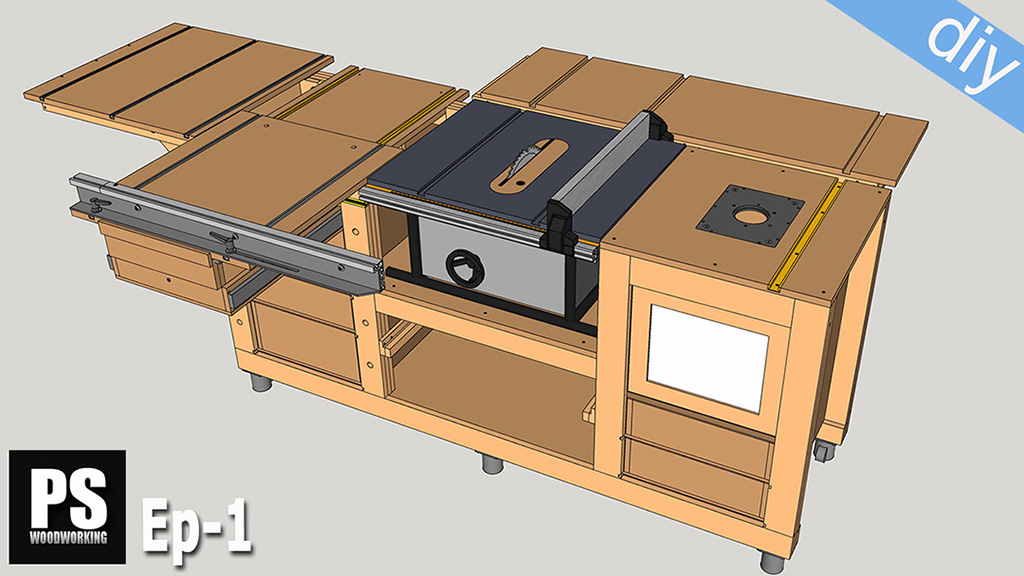
This is the 3D model of SketchUp included in the plans that you will find on my website. If you are interested in collaborating with my web or building your own router and saw table, here you’ll find the plans:
Table Saw Plans
DIY router & saw table specs:
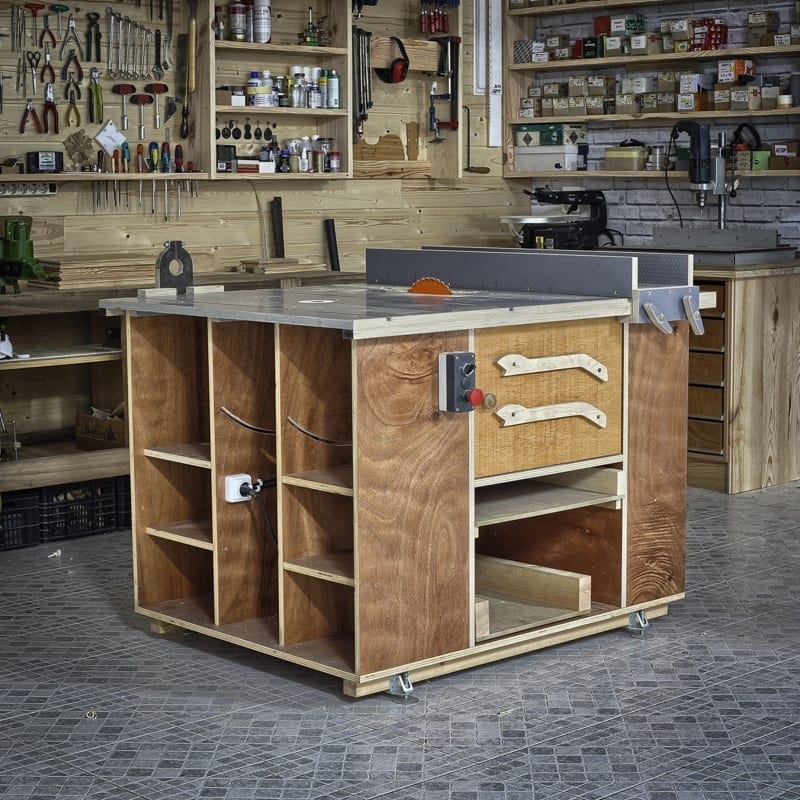
The machine is made with birch and okume plywood. The birch is for the parts which need to be resistant and the ocume is for the rest, making the total weight lighter.
As you can see, the cover is made of birch plywood with melamine on both faces, although another similar material may be used. It has grooves which act as cutting guides, featuring an aluminium U profile in order to improve sliding.
The bodywork is made of ocume plywood put together with screws and dowels. I have not used glue in case I have to dismantle or redesign it one day. For the joints of the bodywork I have used 4×50 screws.
Bodywork is strengthened with two strips of hard wood, to which I screwed in adjustable legs. I have applied two coats of lacquer in order to protect it and give it longevity; it all depends on the material which is used. As for dust removal, a bag vacuum cleaner with a 100mm tube is ideal.
We attach the tube to the side of the machine. It then forks into two 50mm tubes, one going directly to the outlet of the circular saw and the other to the empty space of the machine.
You could also send the cutting list included in the plans to a carpentry warehouse. They will cut and reference all the pieces, so you will only have to machine the smaller cuts and put the pieces together.
These designs are for my original saw & router table, for routers with 43mm clamping collar and a Makita 5903R circular saw. For other tools, you will most likely to modify the plans a little.
Approximate weight: 45kg
Total dimensions: 900mm High, 1260mm Wide and 1000mm Long.
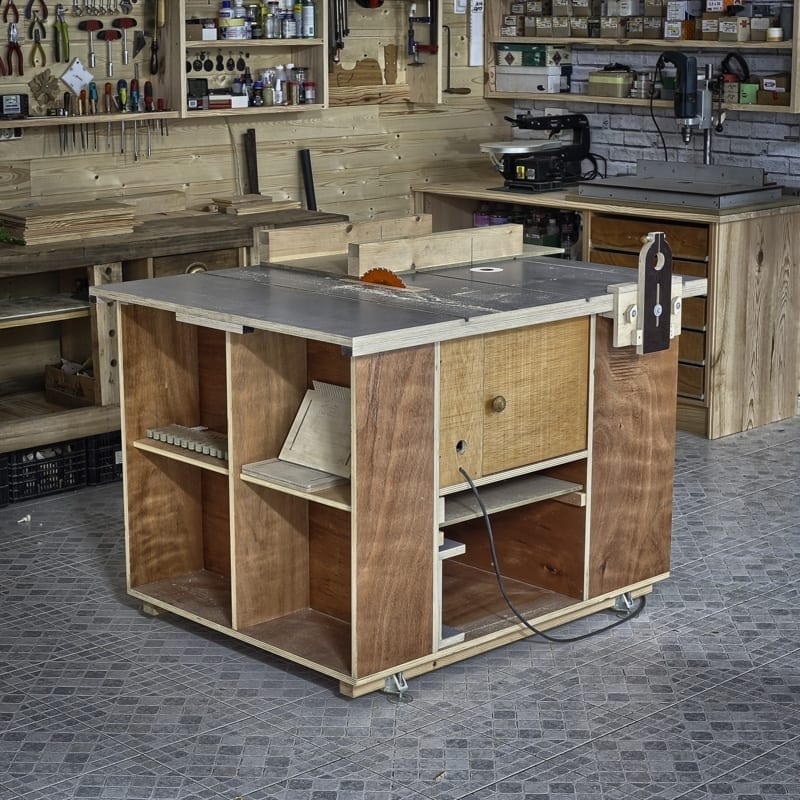
How it works 1 – Lid and cabinet:
As you can see in the video, the cover -which doubles as a table- is made of 20mm birch plywood with melamine on both faces. I found this in a carpenter’s shop, but I don’t remember what it had originally been used for. However, when I saw it, I didn’t hesitate to buy it, as these are difficult to find for small scale production purposes.
Normal, varnished birch would do the job perfectly, and that was my first idea. It is screwed underneath the main body and has recesses for a saw and a milling machine, some on the top in order to make it easier to change the disks and cutters, others on the underside in order to attach the saw to the table and achieve a deeper cut. It has other recesses on the top to insert the aluminium profile which will act as a guide.
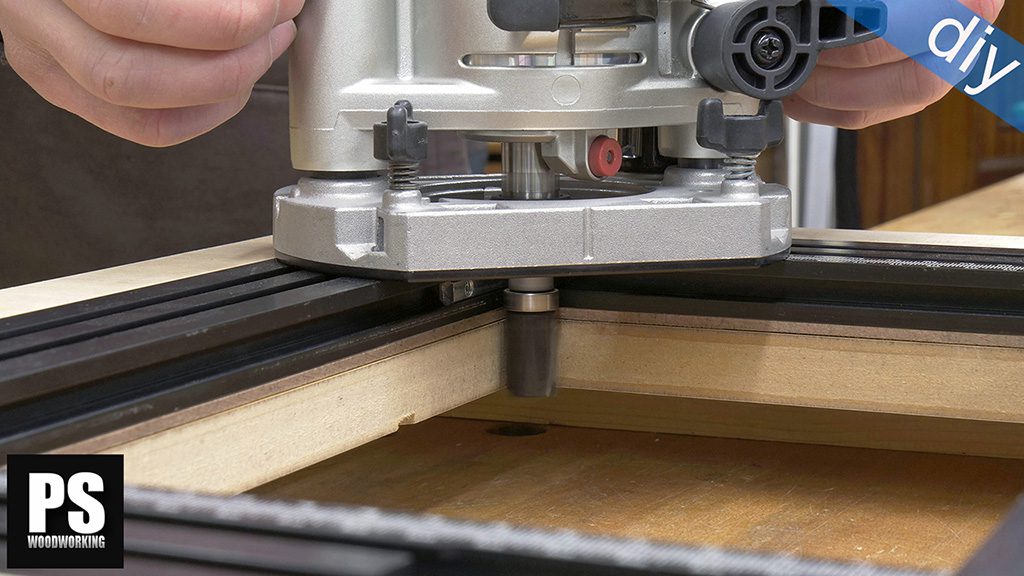
I machined all these recesses with a router and guides. This part is very important in order to achieve perfect cuts. All the templates for this milling must be placed straight and in perfect alignment.
You could also use a T-track profile, like I did in my portable workshop. My profile measures 15mm wide by 10mm deep, but other measurements can be used, but only up to 10mm depth to avoid compromising the stability of the table. The profile must fit tightly but not so much that it has to be forced in.
How it works 2 – Horizontal Router:
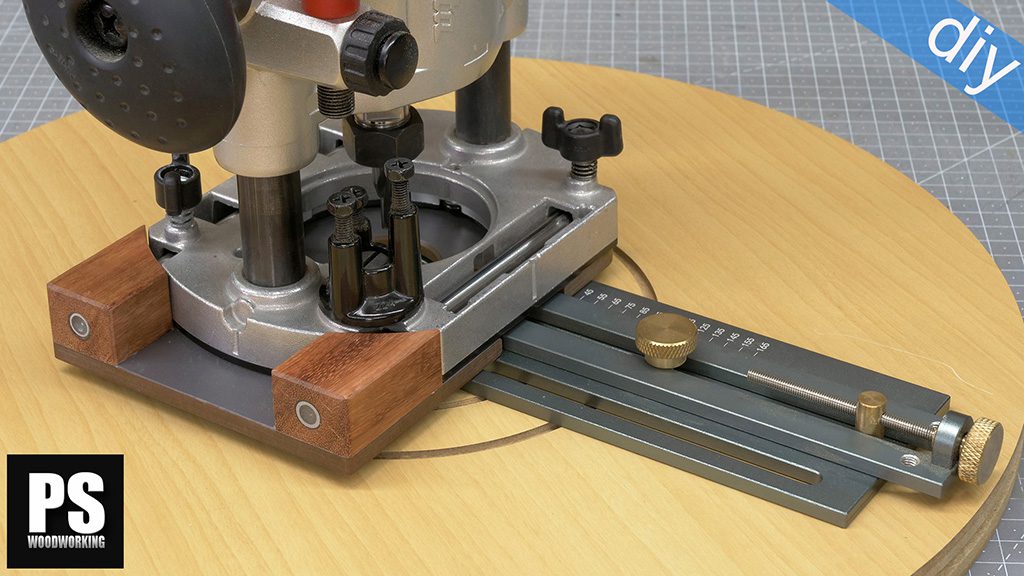
The support for the horizontal router is made of birch plywood and must be hard and stable to support the weight of the router itself. The part in contact with the router is 20mm, the rest is 12mm. You must ensure all the work pieces are perfectly aligned when you cut them if you want the router to cut properly.
It is meant for routers with a 43mm clamping collar, be very precise when making this hole. If you overdo it, the router will be loose, which is obviously a hazard!
For do that I have used an adjustable drill. Also I have ud¡sed 8mm metric bolts with threaded inserts.
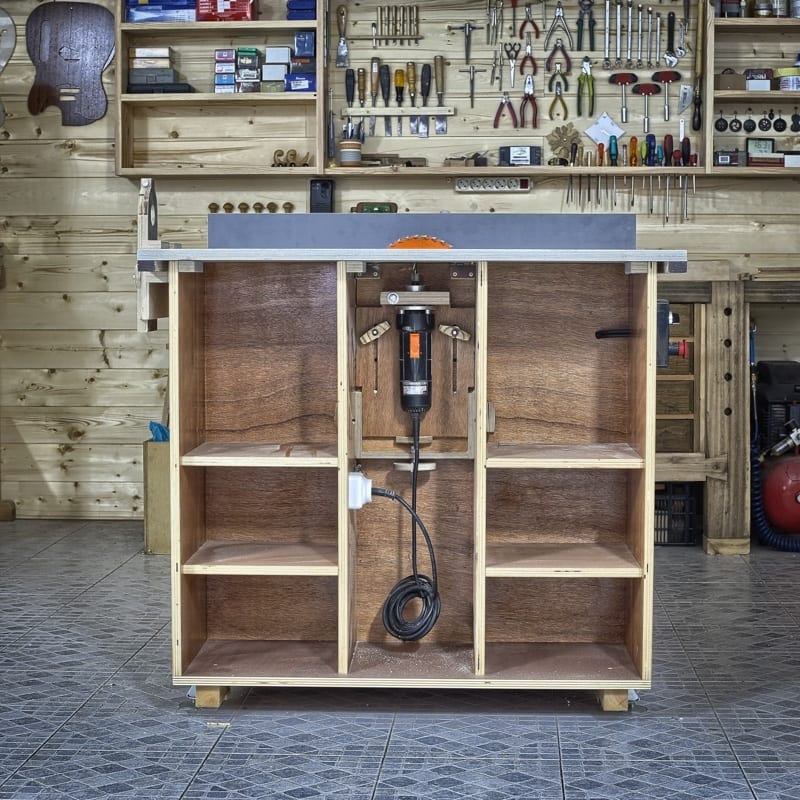
How it works 3 – Vertical Router:
The vertical support for the router is made of birch and okumen, although you could make it with just birch. Again, I’ve used a 43mm clamping collar for greater versatility. Also here I have used an adjustable drill. The tightening handles are made of birch plywood and I used metric 8 with their corresponding threaded inserts.
Check the length of your router in case the structure is too short and you have to lengthen it a little. The hinges enable you to turn the router and make the most of its possibilities to make mouldings or cuts. Use glue and long screws to make the support sturdier.
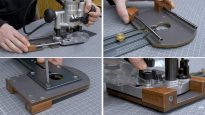
How it works 4 – Box Joint Jig:
I have developed this template in order to make box and drawer joints more easily and comfortably. Make an MDF template with outlets and inlets every 10mm. I have made these on my homemade CNC router, but if you do not have one, you should order these templates from someone who does. It is very important that these are perfect so that the system will work correctly.
You can also make it without Cnc like the one I used in my portable workshop, here you can see it in action.
In order to use it, as can be seen in the video, you must place each workpiece touching each end, with one beginning at an inlet and the other at an outlet with the same measurements as the gaps of each recess.
Making the 3D Router:
In this video, it is possible to see how the table router and table saw work. I begin the 3D Router project with my circular saw. Assembling this tool requires extreme precision and extensive experience in carpentry work.
The cuts must be perfectly straight, the axes must be perfectly parallel so that the ball bearings do not have any backlash, and are correctly aligned, if this is not the case, there will be vibrations which will be transferred to the output. A 43mm clamping collar makes it very versatile and you can change the milling tool to drill very fast.
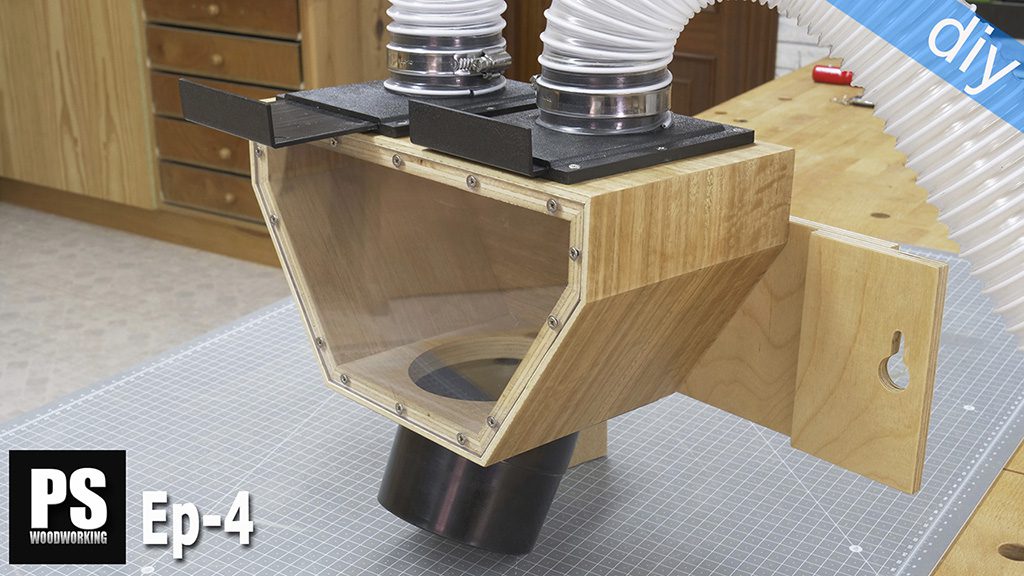
Connecting a Dust Collector:
Update (22/12/2015). The home vacuum I’ve been using wasn’t powerful enough to collect all the dust and shavings so I decided to connect a suction pipe from my saw table to my new dust collector. It works amazingly well!
Inverted Jig Saw:
Some of you have asked me whether it would be possible to adapt the Inverted jig saw guide of my Portable Workshop to the Router & Saw Table. And the answer is yes! It can be adapted to those or any other table or workbenches you might have at home. The plans are not included.


Cool, I’ve been looking for this one for a long time