Folding Woodworking Workstation by Chris Walker
-
- Posts: 2244
- Joined: Thu Oct 22, 2015 4:51 pm
Folding Woodworking Workstation by Chris Walker
Cut all of the parts out but had to make a few modifications as a result of only having a 1/2 sheet (1220x 1220) of 18 mm birch ply. Will join two lenghts (800 x100 and 600 x100) using dominoes to get the required 1400 mm length.
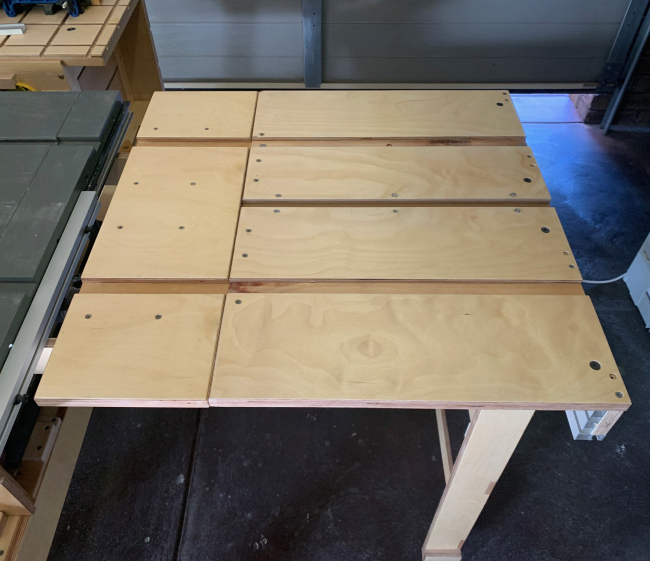
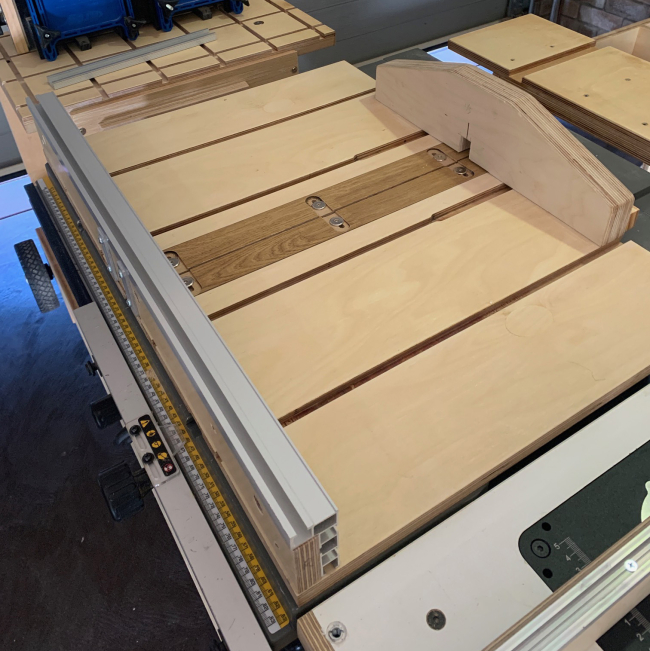
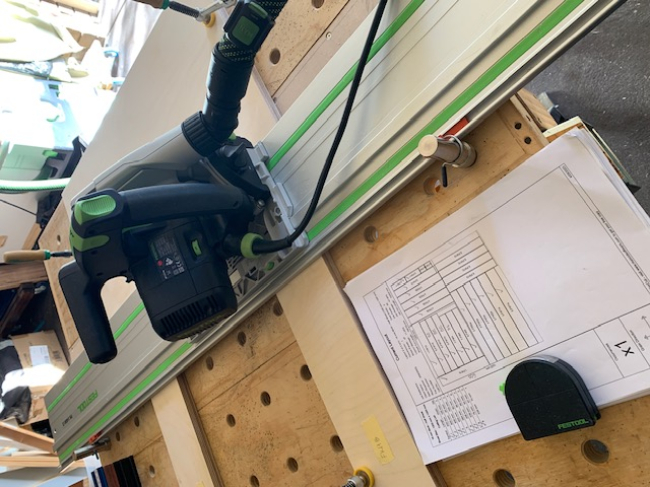
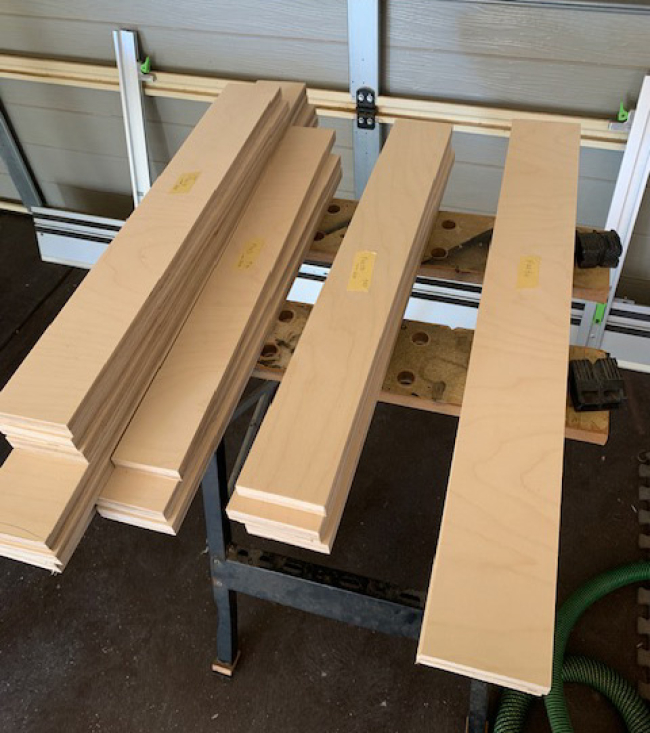
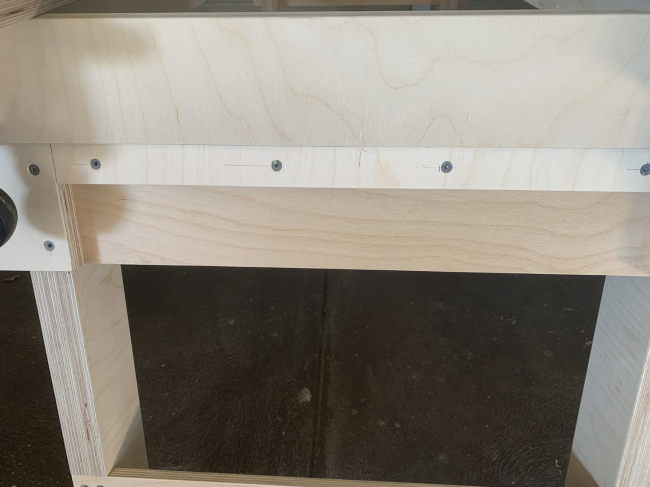
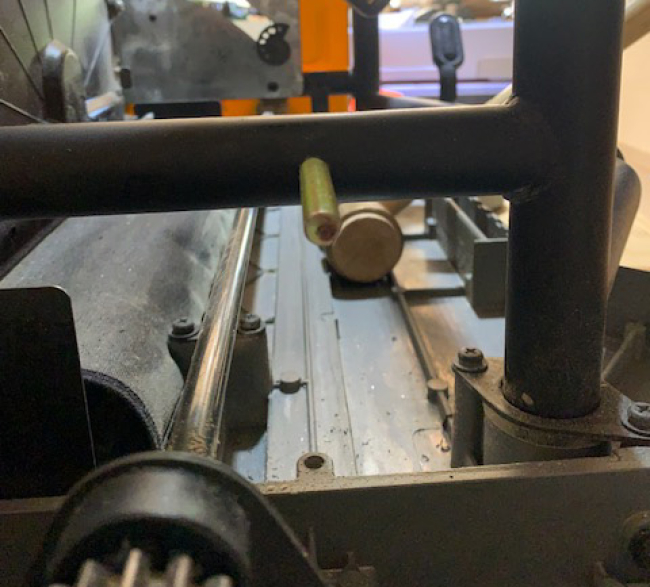
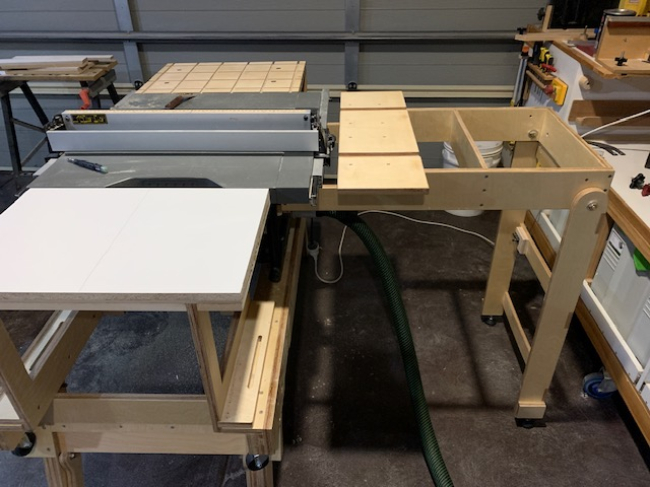
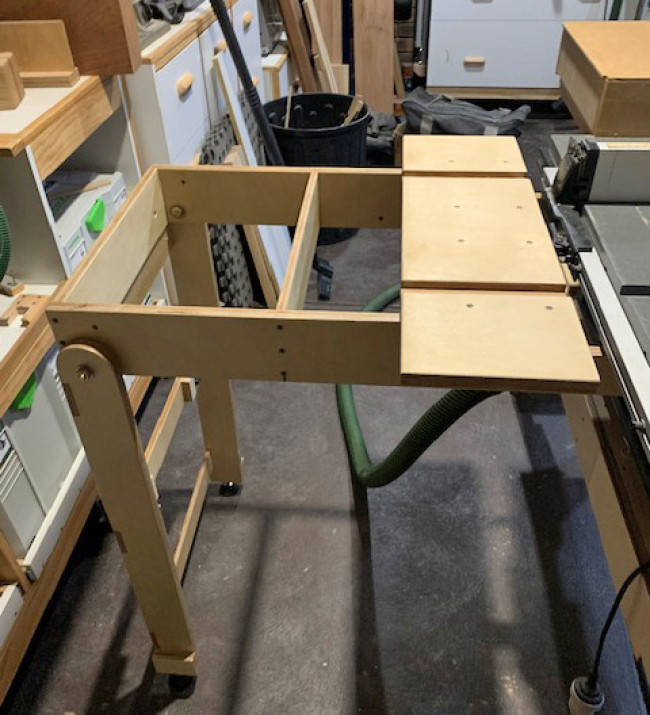
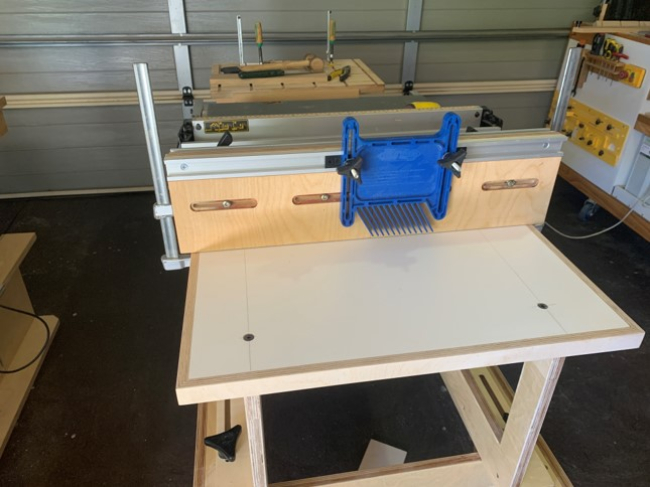
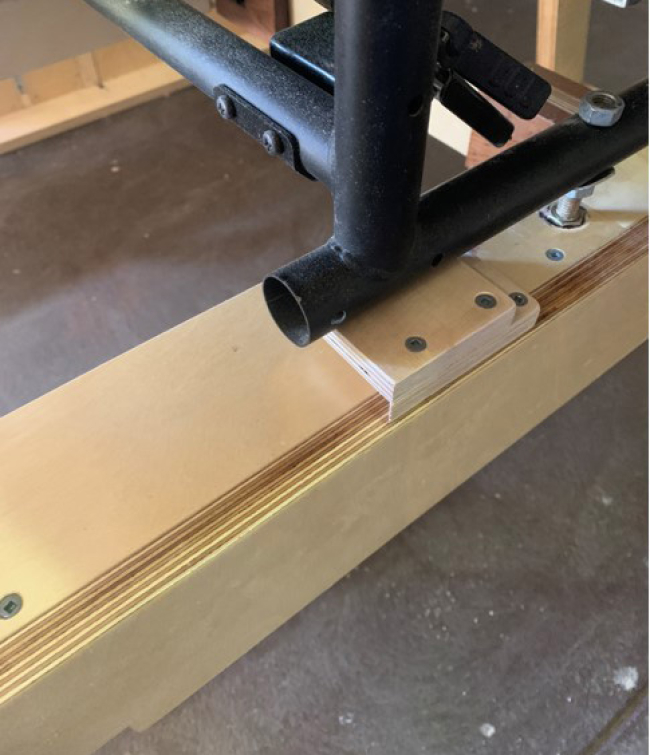
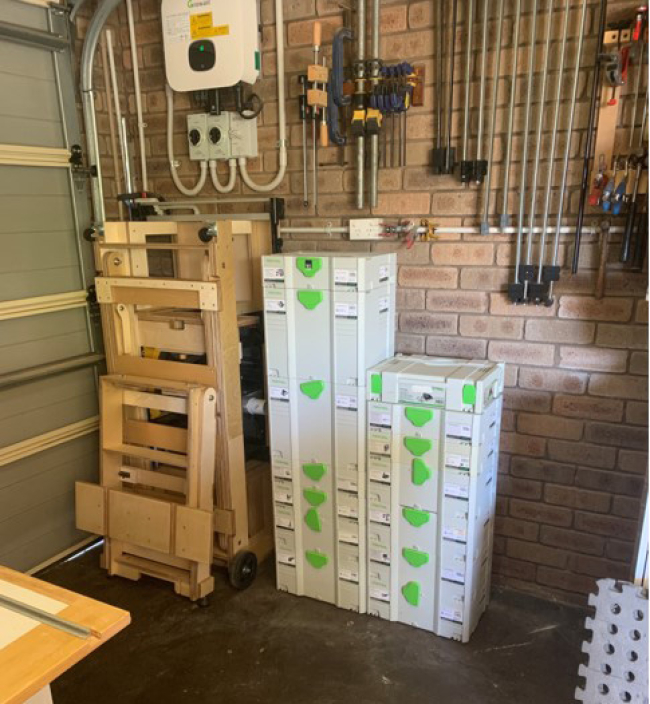
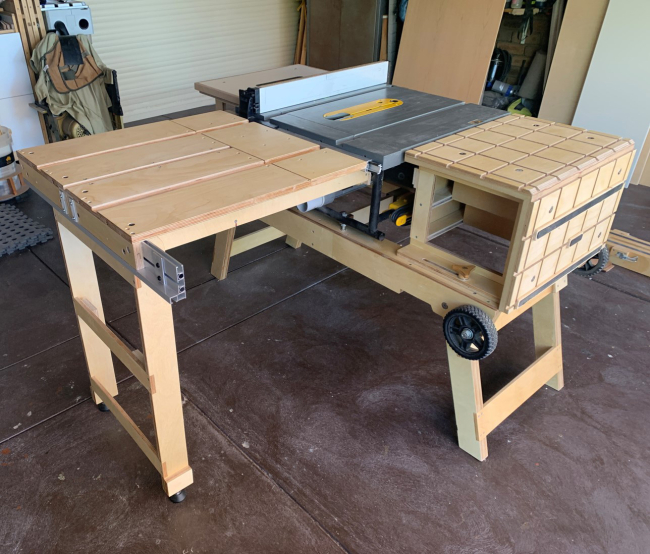
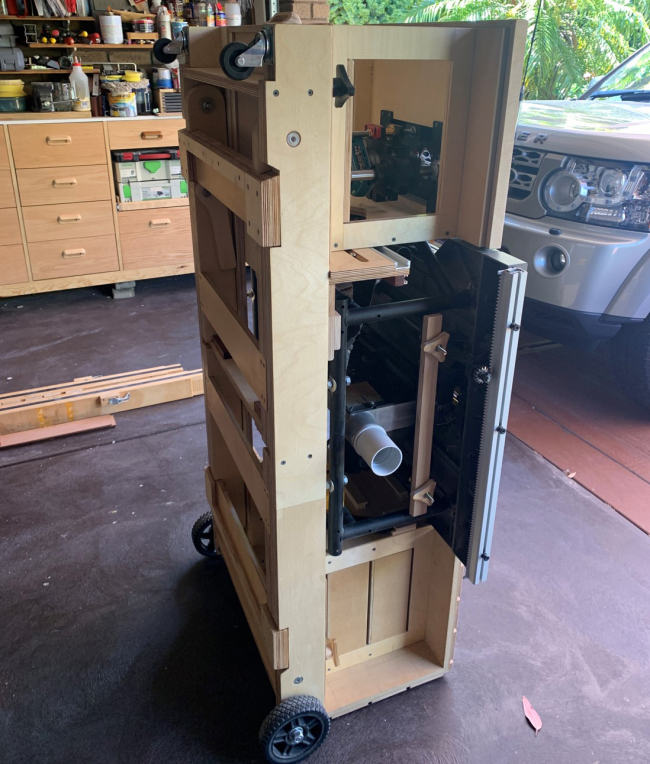
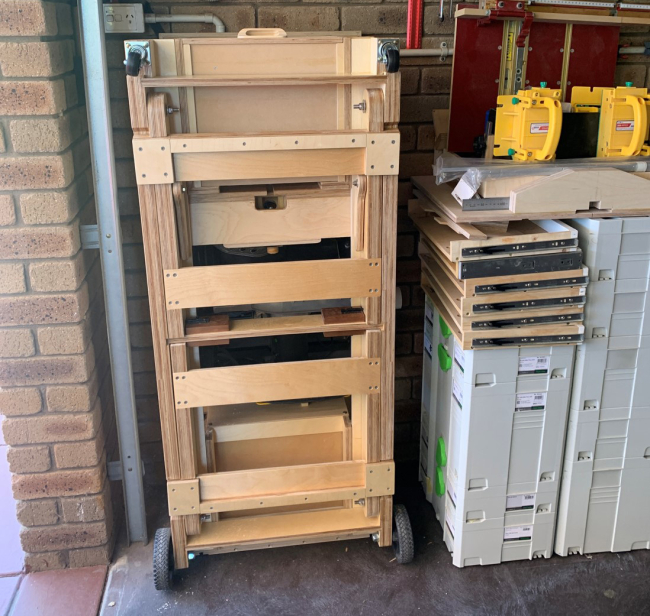
Joining these at the moment but a few photos of the sheet of ply broken down as per the cutting list:
-
- Posts: 2244
- Joined: Thu Oct 22, 2015 4:51 pm
Re: Folding Woodworking Workstation by Chris Walker
Hi Suso, managed to get the saw table finished today – will varnish tomorrow and install the saw.
Made a few modifications as a result of running out of 18 mm Birch Ply and substituted 12mm Birch in the lower leg brace (FW9 which I widened it to – 120mm to compensate for any bending moment – Increase the section modulus)
Also installed a double on the upper leg brace (FW8) by combining two pieces of ply (18 mm and 12 mm) as you suggested previously and this distributes the leg loads across the FW4 strut more evenly.
I have provided a phot of my existing table saw stand (loads of Festool Systainers) – One of the issues I have is that the existing width of my table saw arrangement means that I have restricted width in which to park my wife's car (Currently the table saw has a width of 680mm) and I anticipate that the folded design will allow her to park the car more easily.
I have included a phot of the leg modification showing the 18mm ply section on the 12 mm upper leg brace.
I weigh 103 kg's and the table showed no signs of flexing when I stood on it so it's looking positive.
I will attempt to locate some more 18 mm Birch next week (Its not easy to obtain in Western Australia) and will continue with the router table and assembly table section.
-
- Posts: 2244
- Joined: Thu Oct 22, 2015 4:51 pm
Re: Folding Woodworking Workstation by Chris Walker
Mounted the saw today, my model is a little different to your in that it does not have the channel section at the rear, mine has a 32 mm steel tube which means I have to modify the mounting for the extension table.
Made up a clamping jig to fit around the tube so that I could drill two 6.5 mm holes vertically for tapping to 8 mm. Will start work on the assembly table section so that I can stand the assembly on its end.
-
- Posts: 2244
- Joined: Thu Oct 22, 2015 4:51 pm
Re: Folding Woodworking Workstation by Chris Walker
Almost finished just the router module to complete:
-
- Posts: 2244
- Joined: Thu Oct 22, 2015 4:51 pm
Re: Folding Woodworking Workstation by Chris Walker
Well finished the cart with the exception of the router and the router table mounting plate which I ordered from Bangood yesterday.
I have a router fence which I built a long while ago and wondered if I could include this into the cart and had a go at finding a spot where it could be mounted for transport and then easily installed onto the router table . Understand that normally one would use the saw fence but as you have pointed out it tends to lift so using feather boards becomes a problem.
The fence mounted on the router table with a feather board (I know its on backwards) and the fence clamped in place.
The above is the retaining bracket one bot sides which overlap the router fence.
The above shows the router fence being slid into the retaining brackets for storage
The above and below shows the router fence in its transport position with the router module moved to its close position.
Last photos showing the cart and outfeed table mounted against my garage wall – saved 350 mm of space which means the wife can now get her car into the garage with less damage!
-
- Posts: 1
- Joined: Wed Sep 20, 2023 2:17 pm
Re: Folding Woodworking Workstation by Chris Walker
Great work, Chris! It’s so cool to know someone else is building the same workbench in another part of the world. I’m a bit behind you as I’ve just laminated some black Formica onto the work surfaces and cut the dovetail grooves this afternoon, but I’m excited to get the two cabinets glued up tomorrow and then start working on the outfeed table and table saw. I also haven’t cut in the router, I’m not sure whether to use the 6-in-1 router jig from Katz-Moses/3x3 Custom that I currently use with my small palm router, or invest in a larger router lift to go with my bigger DeWalt. I’ll probably get the bigger one.
Keep up the great work!
-
- Posts: 2244
- Joined: Thu Oct 22, 2015 4:51 pm
Re: Folding Woodworking Workstation by Chris Walker
Found a good location for the really poor DeWalt saw throat plate and the riving knife and installed some brackets for these.
I installed a Makita battery powered router and added a drawer below the router lift for the router tools and some general router bits.
Made a small modification to the sled slides by installing 4 small brass screws into the section of the slide which fits the table saw so that I can fine tune the slide adjustment for a slop free fit.
-
- Posts: 2244
- Joined: Thu Oct 22, 2015 4:51 pm
-
- Posts: 2244
- Joined: Thu Oct 22, 2015 4:51 pm
Re: Folding Woodworking Workstation by Chris Walker
Finished Folding Woodworking Workstation:
-
- Posts: 1
- Joined: Sat Nov 18, 2023 8:22 am
Re: Folding Woodworking Workstation by Chris Walker
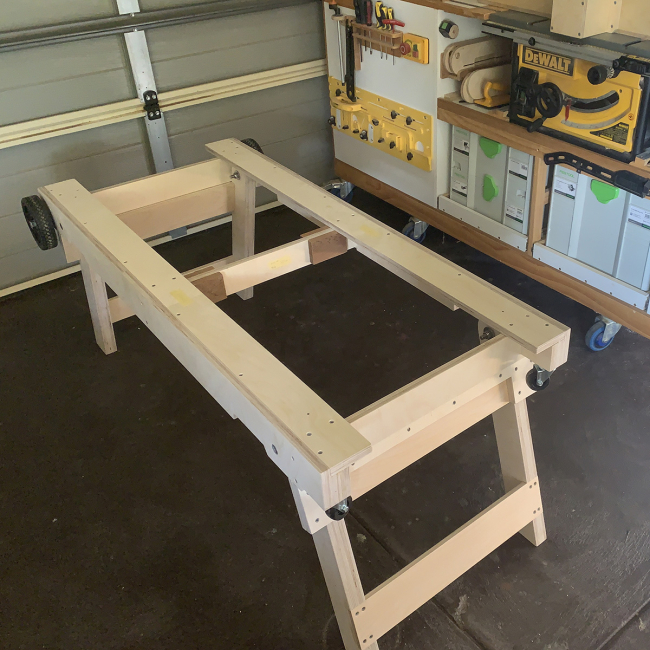
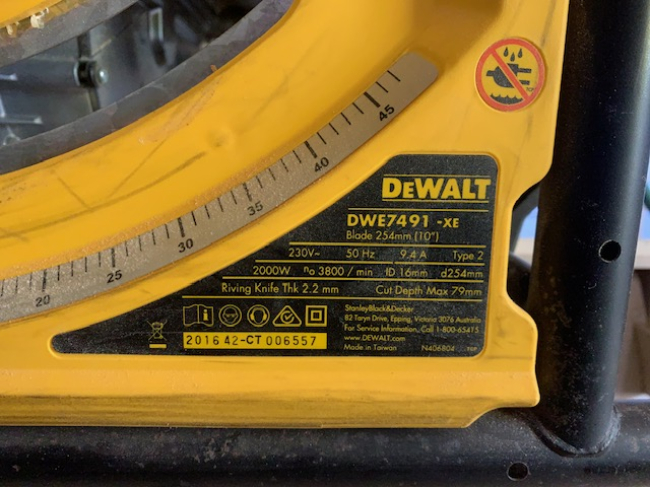
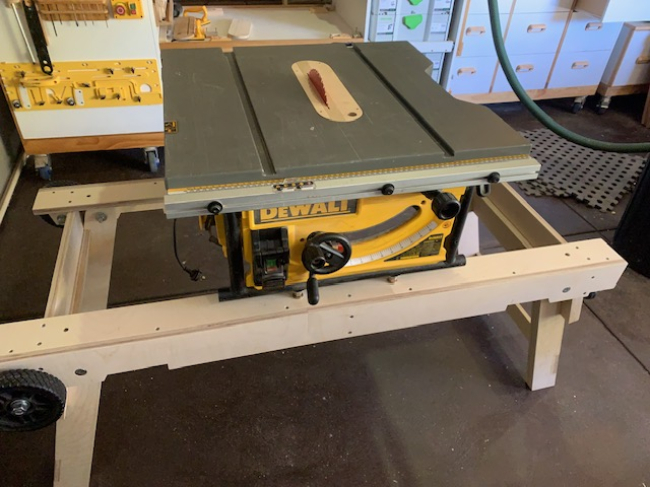
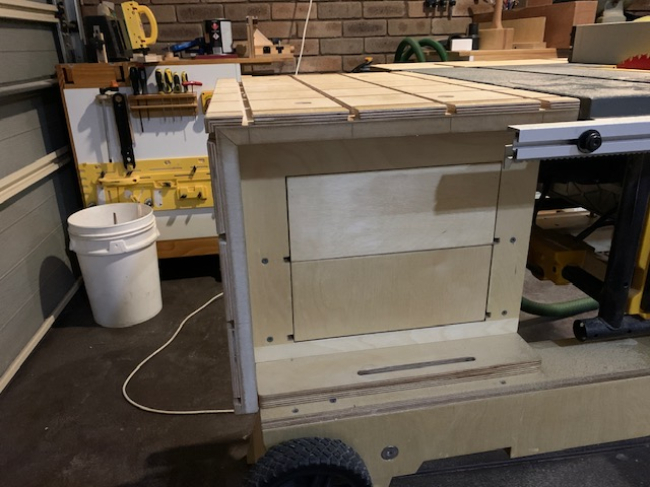
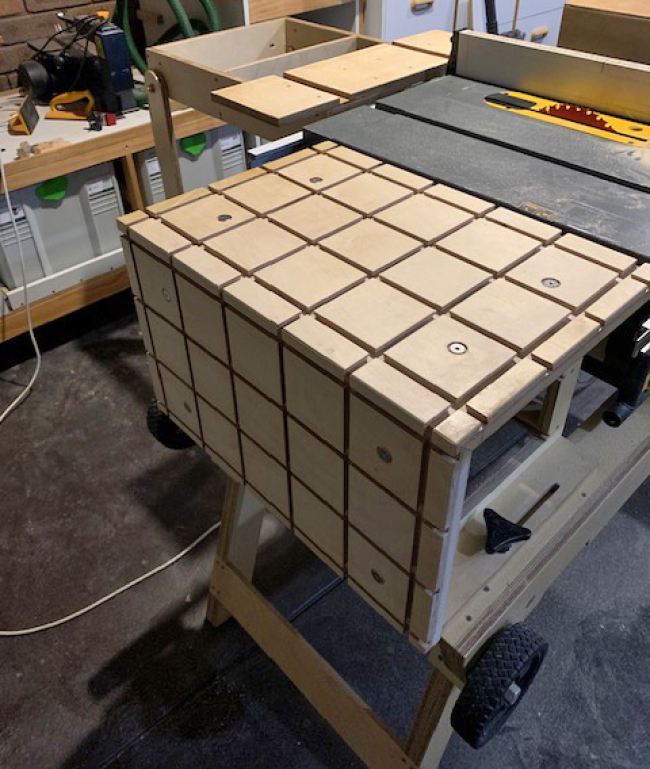
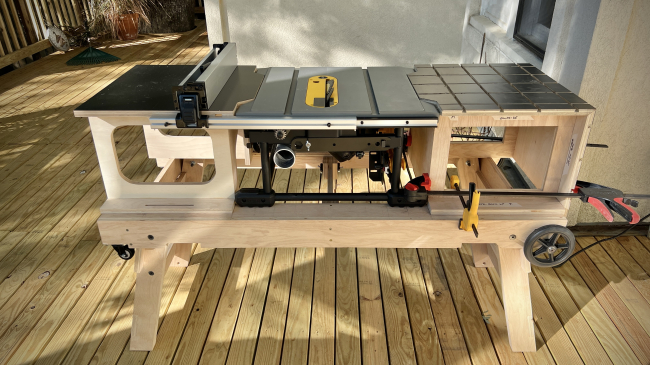
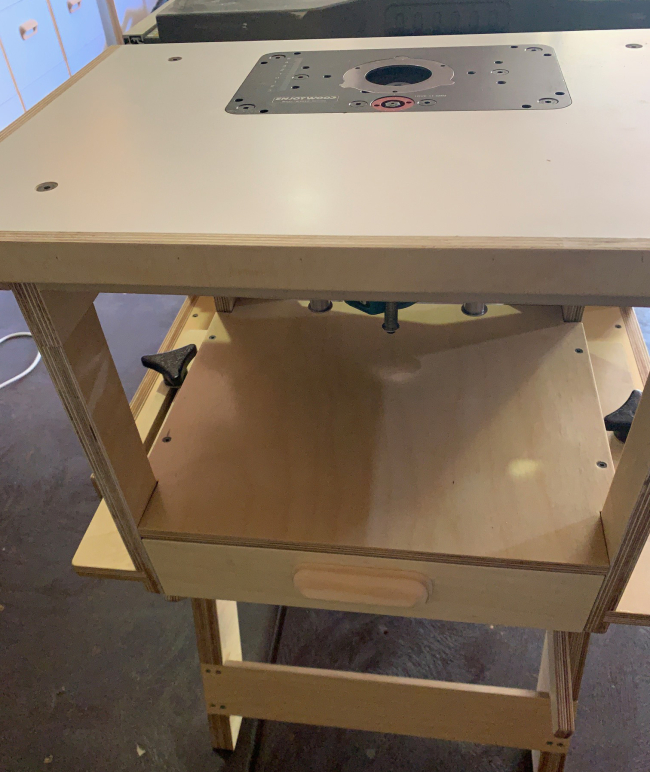
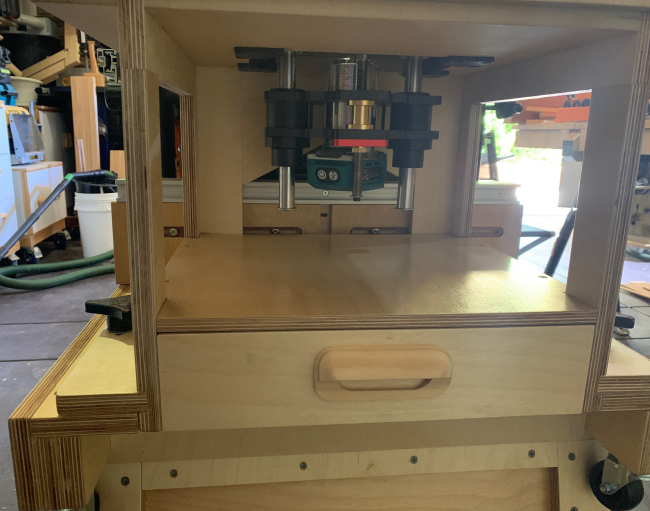
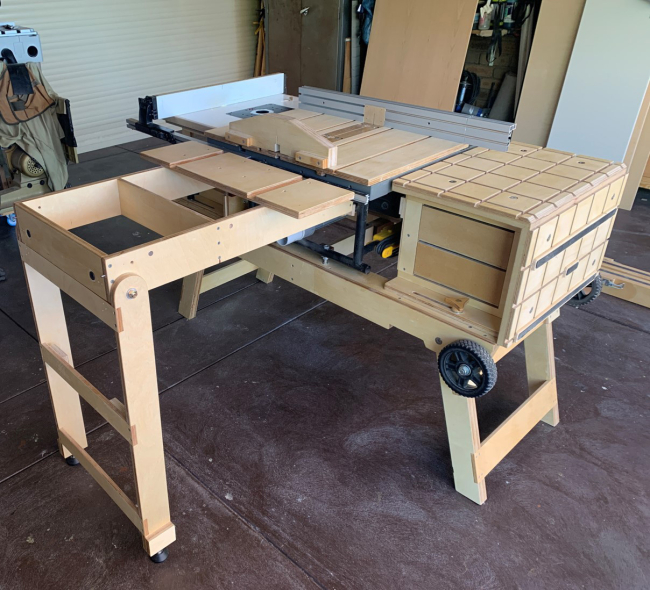
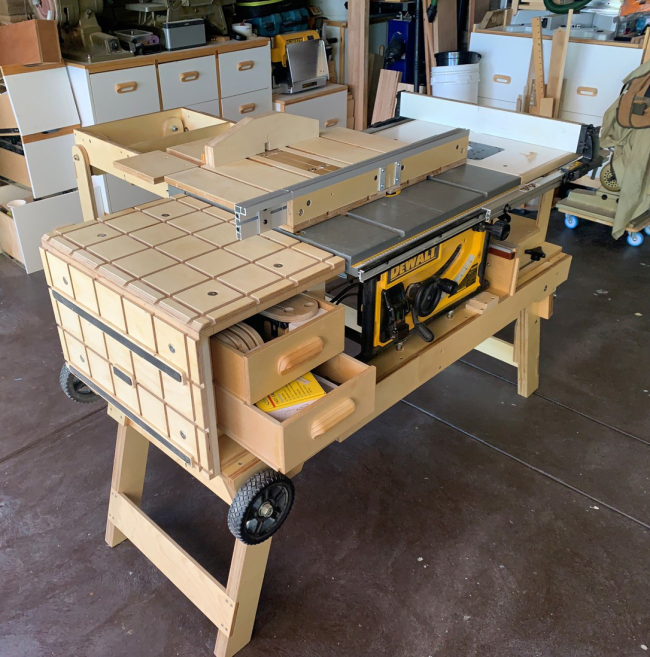
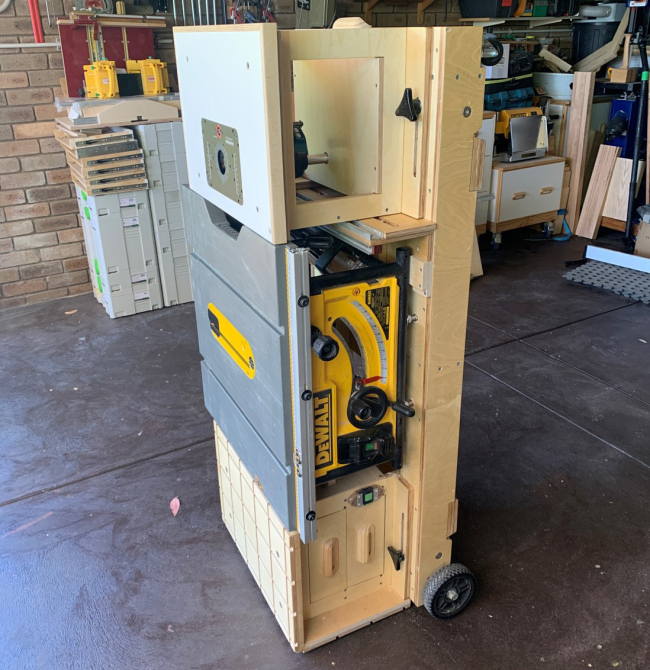
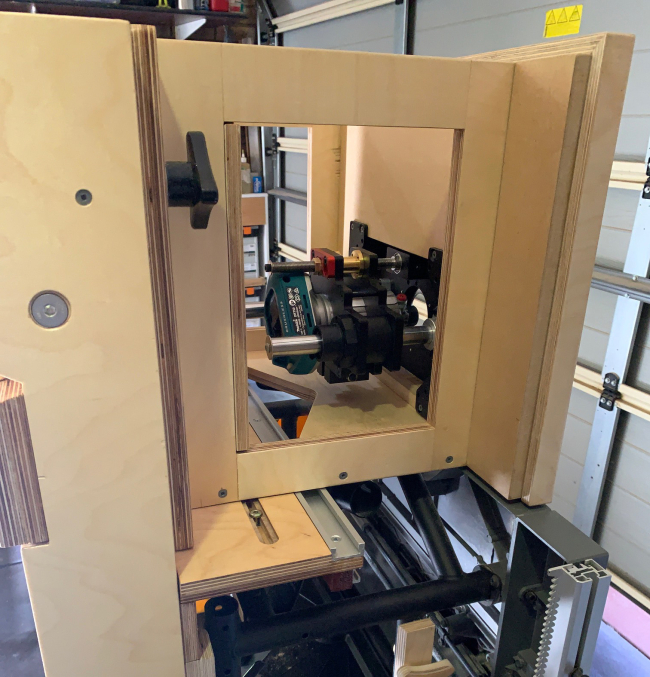
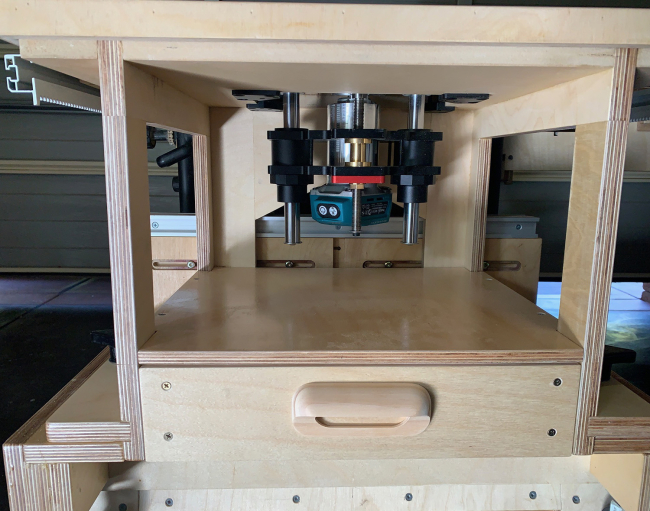
Thanks DavidDavid Smith wrote: ↑Thu Oct 12, 2023 2:00 amGreat work, Chris! It’s so cool to know someone else is building the same workbench in another part of the world. I’m a bit behind you as I’ve just laminated some black Formica onto the work surfaces and cut the dovetail grooves this afternoon, but I’m excited to get the two cabinets glued up tomorrow and then start working on the outfeed table and table saw. I also haven’t cut in the router, I’m not sure whether to use the 6-in-1 router jig from Katz-Moses/3x3 Custom that I currently use with my small palm router, or invest in a larger router lift to go with my bigger DeWalt. I’ll probably get the bigger one.
Keep up the great work!
Your workbench is a first class job. Pretty sure you will get lots of service from the bench.
Look forward to seeing the final results.
Keep ip the good work.
Regards from down under.