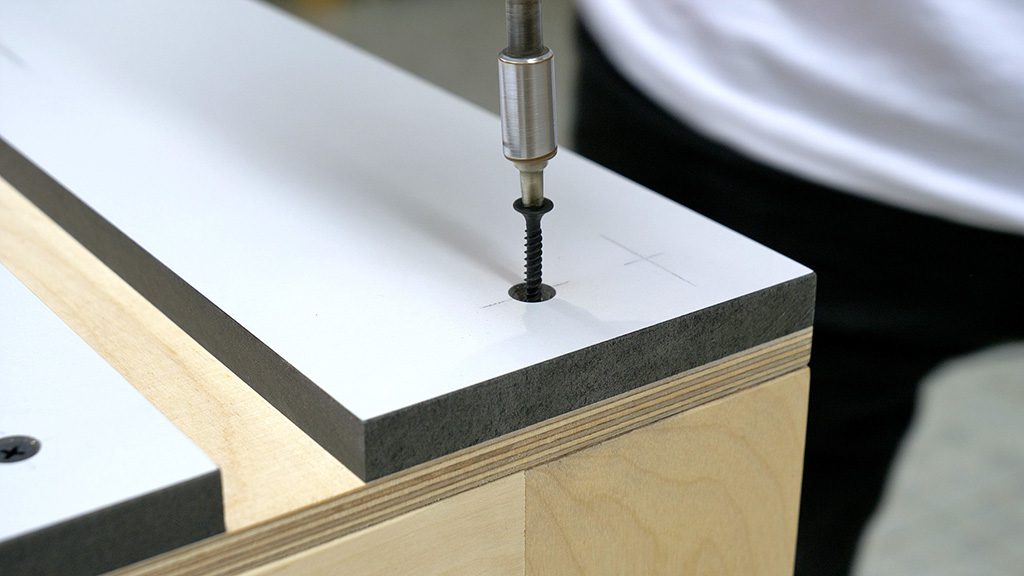
Be careful with the expansion of the board you're going to use as benchtop due to moisture. If you use boards that are very susceptible to changing size, such as MDF, you will need to make the holes for the screws holding the top to the cabinet a little bigger, and avoid tightening them too much to allow for wood movement.
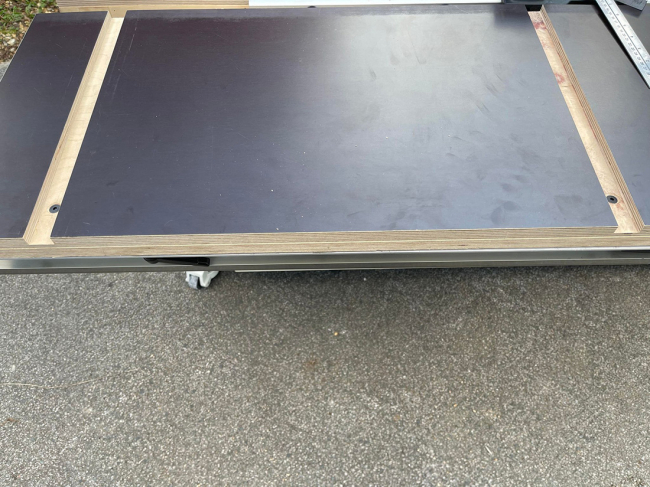
If you use plywood, you won't have that problem.
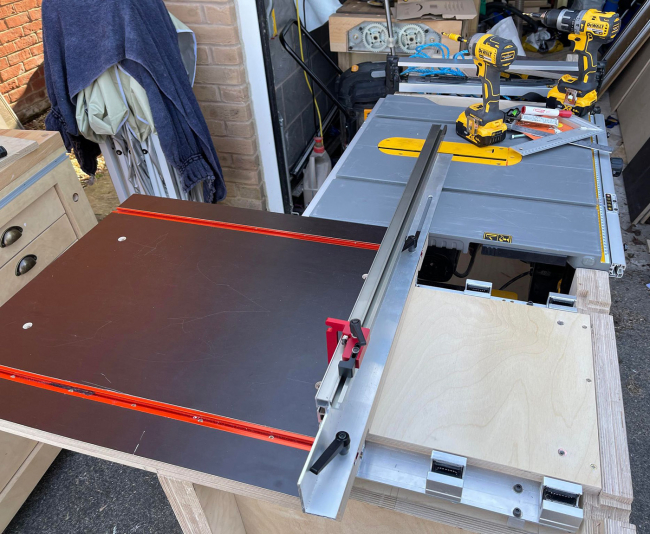
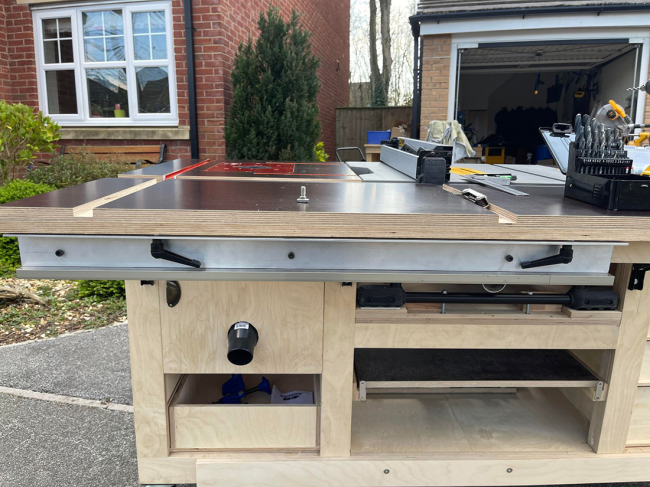
If you use the same method I followed, screwing the two boards together for added thickness you won't have any problems as long as they're the same kind of board and keeping in mind what I explained above.
If they're two different types and behave differently when exposed to moisture, you may have problems getting smooth, straight worktops. In my case, both the plywood and this MDF-like board barely change size in response to moisture and I haven't had any problems. If it was normal MDF, I'm sure there would have been